Shifting into a new home brought lots of shopping for new furniture pieces. However, this did not mean we could throw out every piece of old furniture we owned. Hence, I decided to transform the two IKEA Lack tables we owned without breaking the bank.
IKEA furniture is just so cheap and functional, but also a little boring at times.

I figured we could just use recycled pallet wood and glue it right on top. I wanted to go for a rustic, reclaimed look to match the rest of the furniture in the house, and I’m really happy with the way this turned out.
What you need:
Before you start:
Uprooting the pallet wood from the pallet was the most tiring part. You could just skip this step and go get some pine wood from the local hardware store, but I had two supermen to help and make my dreams come true.

What you do:


Love the transformation. Look at that gorgeous texture peeking through. Looks like some fancy table from an expensive furniture store!

Here are a few glimpses from the side table makeover:


Here's how the final side table looks:

Thanks boys, you are the best for making my vision come true! :)
IKEA furniture is just so cheap and functional, but also a little boring at times.

I figured we could just use recycled pallet wood and glue it right on top. I wanted to go for a rustic, reclaimed look to match the rest of the furniture in the house, and I’m really happy with the way this turned out.
What you need:
- IKEA Lack coffee table (the one we have measures 35 3/8″ X 21 5/8″). We also did the IKEA Lack side table (55cm X 55cm).
- Wood Pallets
- Clear Timber Varnish
- Sandpaper/Sanding block
- Adhesive (e.g., liquid nails, wood glue, construction grade glue)
- Screws & Hammer/ Drill
- Tooth Saw/Electric saw
Before you start:
Uprooting the pallet wood from the pallet was the most tiring part. You could just skip this step and go get some pine wood from the local hardware store, but I had two supermen to help and make my dreams come true.

What you do:
- Sand the pallet wood. Make sure you sand in the direction of the grain. You could use a sanding block or sand paper for this step. That's my super dad helping sand wood.

- Then place the wood next to each other and decide your favorite pieces you would like to use.
- Next, cut the wood to the size you want. We cut the wood top on the IKEA table to measure 38" x 23" since I wanted a little bit of an overhang.
- Sand once again, to make sure your edges are smooth.
- Stain or paint the wood if you want. I wanted to add some fun but realistic color to the pallet wood to add some texture. So, I painted some pieces with blue, brown and grey acrylic paint, some with color wash technique, especially on the sides which age more naturally.

- Finished the wood pieces with some varnish as sealant to cover the top. The colors will darken with every additional coat of varnish.
- Now place the wood pieces carefully on the table to finalize placement.


8. Apply liquid nails to the table top and the underside of the wood, one piece at a time. Place them carefully on the table top. Use screws to secure the pieces of wood. We used gold screws, which add to the "bling" on the table.


9. Place something heavy on top while the glue dries. You could also use clamps. Wait 24 hours (which was the toughest part of the makeover)

I have to say this was a relatively easy, quick and cheap way to remodel the coffee table. And I love the way it looks.
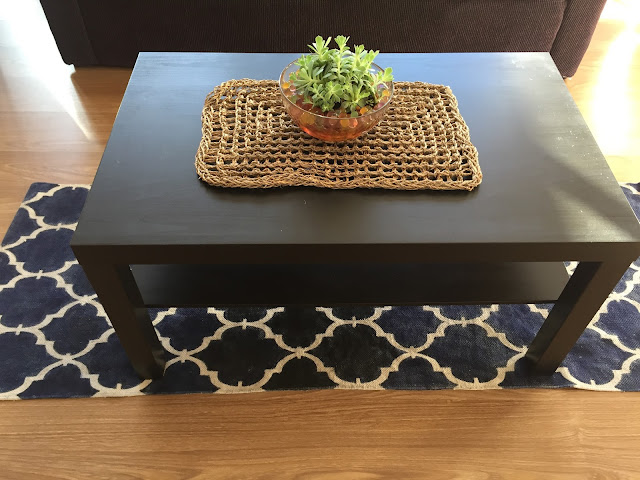
We went from this:
We went from this:

To this:


Here'a a quick "Before and After":

Here are a few glimpses from the side table makeover:


Here's how the final side table looks:

Thanks boys, you are the best for making my vision come true! :)
it is really very helpful and effective.people will like your article very much.thanks for adding such a wonderful article.
ReplyDeletehttps://www.urbansales.co.nz/
Impressive Ikea hack! Your DIY coffee table makeover showcases creativity and style. The transformation is remarkable, turning a basic piece into a unique and chic focal point. Your ingenuity truly shines through. Well done!
ReplyDelete